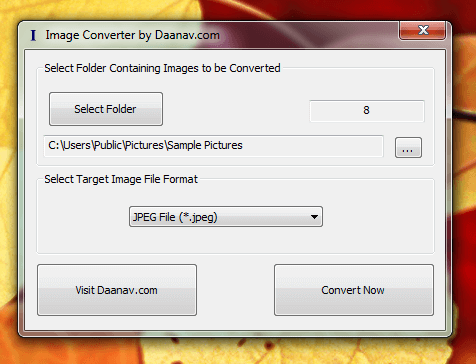
Converting Images to different file formats is now easy and free to do. Instead of using Online Image Converter, a Desktop Software Application provides you the fastest way of converting images to different file formats. This Free Image Image Converter allows you to locate Image Files and Convert them to any selected file format. There are multiple file formats supported by this Free Image Converter. Have a look at given below screenshots and associated description to understand how to use the Image Converter to convert images from any selected folder. Given below screenshot displays the Main Screen of the Image Converter captured on a Windows 7 Computer. Yes you can use this Image Converter on Windows 8, Windows XP, and Windows Vista as well.

Image Converter Software for Windows
Note that the Image Converter displays the count of Images Found in the Selected Folder and allows you to select the Target Image File Format. Converting Images in Bulk to jpeg, bmp, png, gif and other file formats is really fast with this Image Converter. Download and install this Image Converter on your Windows Computer and save time and efforts in uploading images to any online image converter. The Setup of Image Converter Creates an Icon in Programs Menu, Icon on Desktop (Optional) and an entry in Programs and Folders to Uninstall the Software. This Image Converter does not adds any application or software to your Windows computer to run automatically at Windows Startup. Effectively this Image Converter will use Computer Memory and CPU time only when the Software is running.

Select Folder Containing Images to be Converted
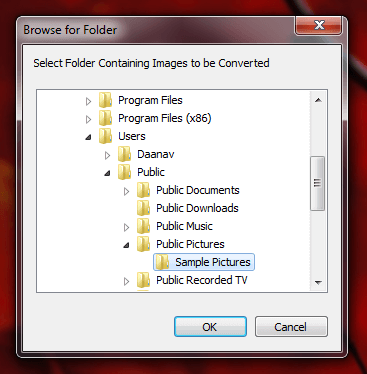
The very first step you need to do is locate a folder containing images to be converted by the Image Converter. The above screenshot displays a Folder Selection Screen which can be launched from the Image Converter’s Main Screen. Once you have located the folder, the Image Converter checks all the files in the selected folder and displays the count of convertible images found in the selected folder. Depending on the number of files located in the selected folder, this process can take some time. IN order to keep things simple, the Image Converter does not looks on Sub Folders of the selected folder and it is a great idea to keep only the images in the selected image folder to speed up the processing time.

Images Converted by Image Converter
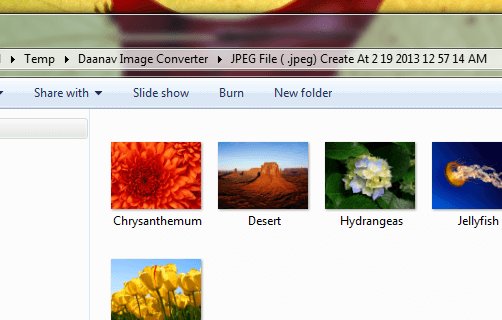
Once you have selected the image folder, all you need to convert the images is to select the desired file format and click on the Convert Button Now from the main screen of the Image Converter. Once the Images are converted to the selected file format, a Window of Windows Explorer is launched containing the newly converted images. File Name are preserved you will note that only the extension and file format of new files is different and the images converted by the Image Converter are stored in a Temporary Folder with a name containing current date and time along with the new file format name as displayed in the above screenshot.

Desktop Shortcut of Image Converter
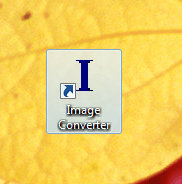
The Image Converter can be launched from the Start Menu or Desktop Shortcut as displayed in the above screenshot. Creation of Desktop Shortcut is optional and you can opt to create the Desktop Shortcut while the Setup of the Image Converter is running. In case you would like to suggest new features to be added to the Image Converter, you can post your suggestions in the Daanav Forum. Customized Image Processing Software Applications can be ordered by following the Custom Software Development link. This website offers other freeware Image Processing Applications like Text to Image Converter which converts text in bulk to images or in case you are using Multiple Monitor Windows Computer, you can download our Multi Monitor Screenshot Software Application. Feel free to browse through this website to find other freeware desktop applications, download them and save time and efforts.